Sage X3 comes with a lot of predefined landing pages/home pages for different user roles in the organization. While they are a great starting point for most companies, during most implementations, the takeaway is that these need to be either tweaked or some need to be even designed from scratch to comply with the business processes for distributors or manufacturers.
In today’s blog we will describe all the steps necessary to design your very own home pages.
It is very easy for users to create a landing page using the following option (if that security feature has been granted)

The user can then give it a name (has to be unique), and then select the use current option and start deciding what it wants to see on that page.

Each gadget/menu item represents either data displayed in a list format or a calendar (queries, representations, statistics and Calendar), a process flow that can be used as a procedure guide for navigation to accomplish a user’s tasks in a system without having to navigate in multiple module or finally a web page. You can potentially open anything from within a gadget, Sage X3 being a great example.
But what if you wanted to define a new page that would be shared with your users.
In the example below, we will first create a menu item that will be displaying sales order lines that are back to back. We will add this to a home page and we will tie this home page to a group of users.
We created a graphical requester called YVN034 with the following parameters:
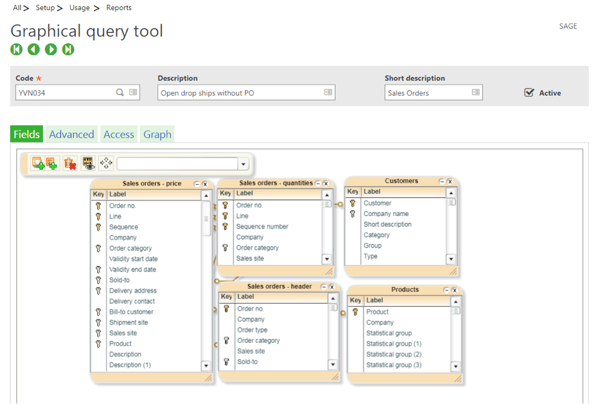
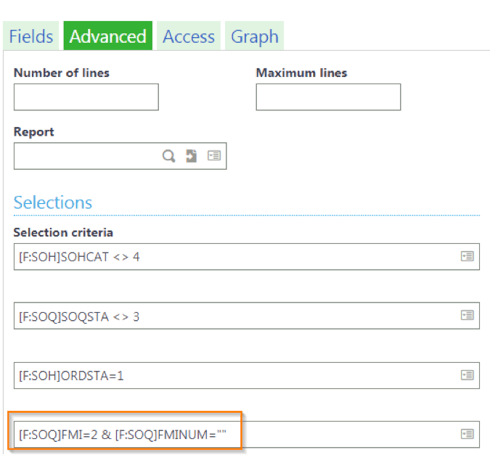
The highlighted selection returns the lines that are drop shipped and for which the back to back number field is empty.
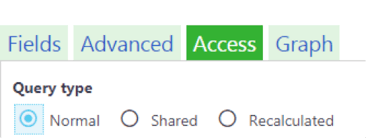
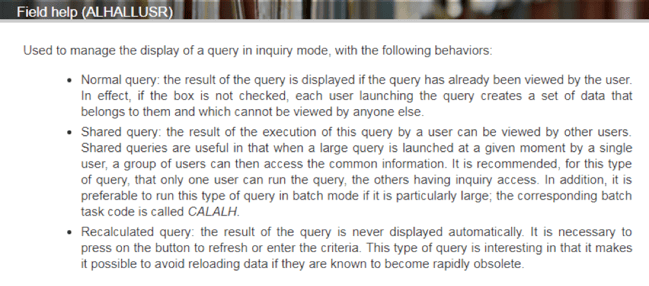
Note that the query type you select will affect the way the query will be loaded on your home page. The help says the following:
We will now create the associated menu item and put it in the right category so we can retrieve it and add it more easily.
Go to Administration > Authoring > Pages
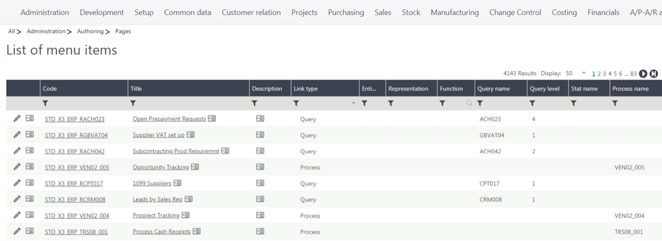

Click on create menu item.
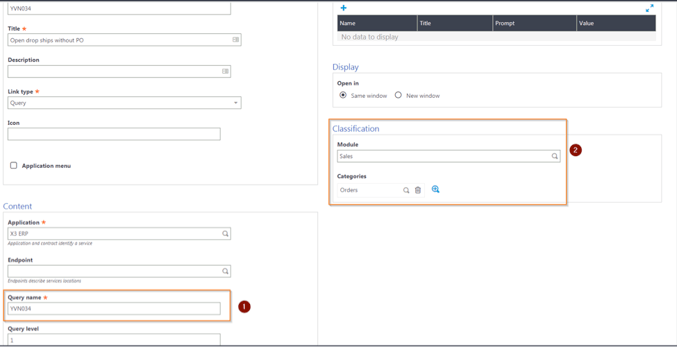
1: This is the code of the graphical requester. This could also be the code of a SQL requester or just a regular requester, depending on where you design your list.
You can check the result directly on that page by selecting the last option in the right panel.
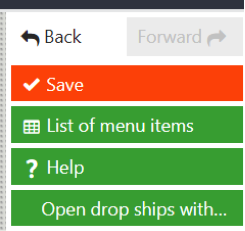
We now need to add this menu item to an existing home page or create a new one.
You can go to Administration > Authoring > Pages
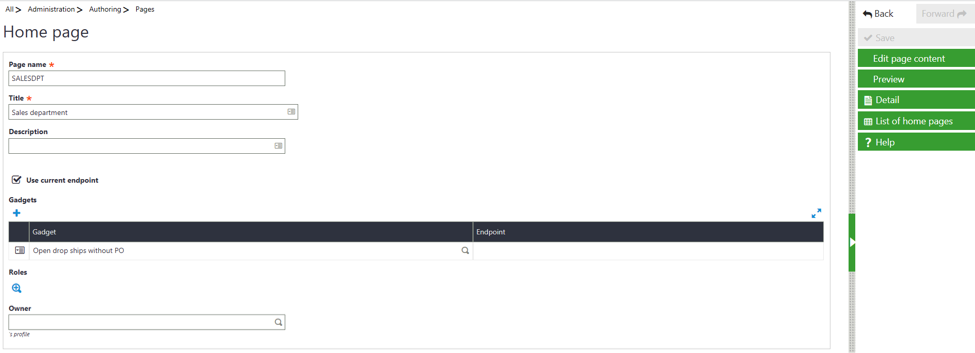
You can add as many gadgets as you want. It would just stack them if you were to leave them that way.
However, you have the ability to make changes to the layout of the home page you are creating in the same manner you can create you landing page as shown at the beginning of this blog post.
All you need to do is click on edit page content in the right panel.
This is how it would look like without changes:

I will add a new tab and add new gadgets and modify the name of this one by clicking the settings button in the top right corner:
![]()
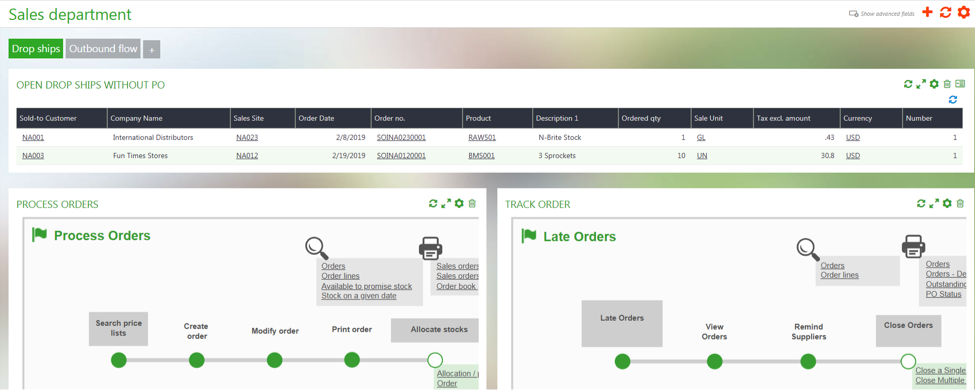
This is the final result:
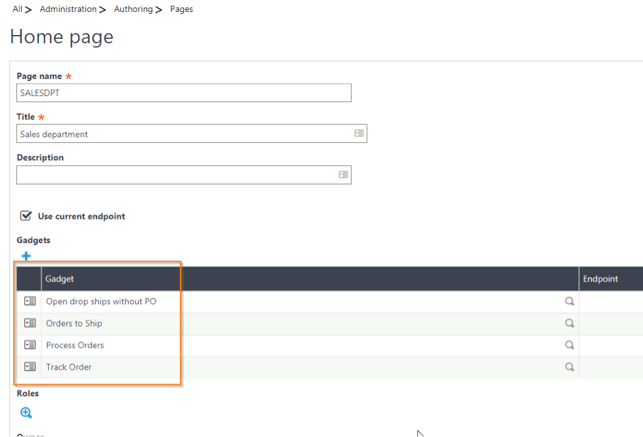
If I go back to the configuration of my home page, the system added the new gadgets automatically:
The last thing to do is to add to a role so it is available to all users in that group.
You can do this directly using the roles section in the home page configuration or you can to individual roles and add it there.
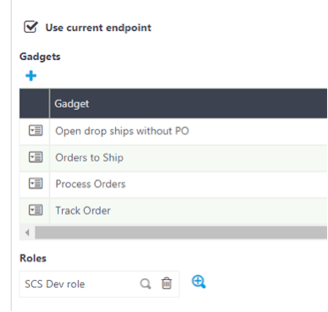
As a test I added the SCS Dev role group as shown below:
If I log in with any of the users of this role, I will see this home page available in the list:
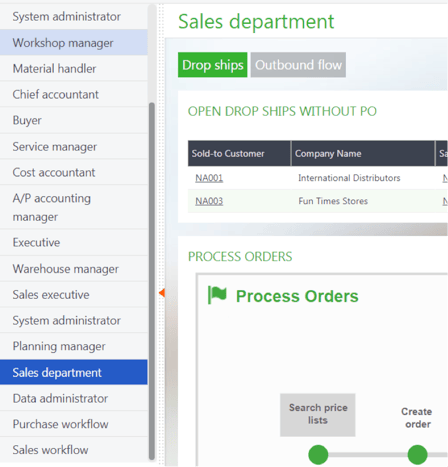
You can always reorder where this particular home page appears by going to the role.
Don’t hesitate if you have questions about this particular blog or if you need help configuring your Sage X3 to suit your business better.
Sage has a lot to offer when it comes to personalizing your screens and workspace.


.png)
